A Guide To How To Start App Development
🚀
Kickstart Your Journey in App Development: A Comprehensive Roadmap
We’ll start by defining your goals and understanding why you want to dive into app development. Is it for a school project, a career change, or perhaps you have an innovative idea for an app? Whatever your motivation, having a clear goal in mind will guide your learning process.
Next, we’ll delve into the languages used in app development. We’ll explore Java, Kotlin, and XML, and help you understand which one might be the right fit for you.
From there, we’ll guide you through the fundamentals of app development, including the basics of Kotlin, understanding app components, and learning about storage and networking. We’ll also cover important aspects like debugging, testing, and distribution of your app.
Sure, here’s a roadmap to get started with app development:
Learn a Programming Language: Depending on the platform you want to develop for, you’ll need to learn a suitable programming language. For iOS, you should learn Swift or Objective-C, and for Android, you should learn Java or Kotlin.
Understand the Platform: Familiarize yourself with the platform you’re developing for. This includes understanding the platform’s guidelines, design principles, and the user interface.
Learn about Databases: Most apps will require some form of data storage. Therefore, it’s important to understand databases. You can start with SQLite for mobile applications and then move on to more complex databases like MySQL or PostgreSQL.
Learn about APIs: APIs (Application Programming Interfaces) are used to fetch data from a server. Most modern apps rely heavily on APIs to fetch data from the internet.
Start Building Simple Apps: Once you’ve got the basics down, start by building simple apps. This could be a simple calculator app or a note-taking app. The goal is to apply the concepts you’ve learned.
Work on a Capstone Project: After you’ve built some simple apps, you should work on a larger capstone project. This could be an app that solves a particular problem or a clone of an existing popular app.
Publish Your App: After testing your app thoroughly, you can publish it on an app store. This could be the Google Play Store for Android apps or the Apple App Store for iOS apps.
Keep Learning and Improving: Technology and best practices keep evolving. Always be learning and improving your skills. Join developer communities, participate in hackathons, and contribute to open-source projects.
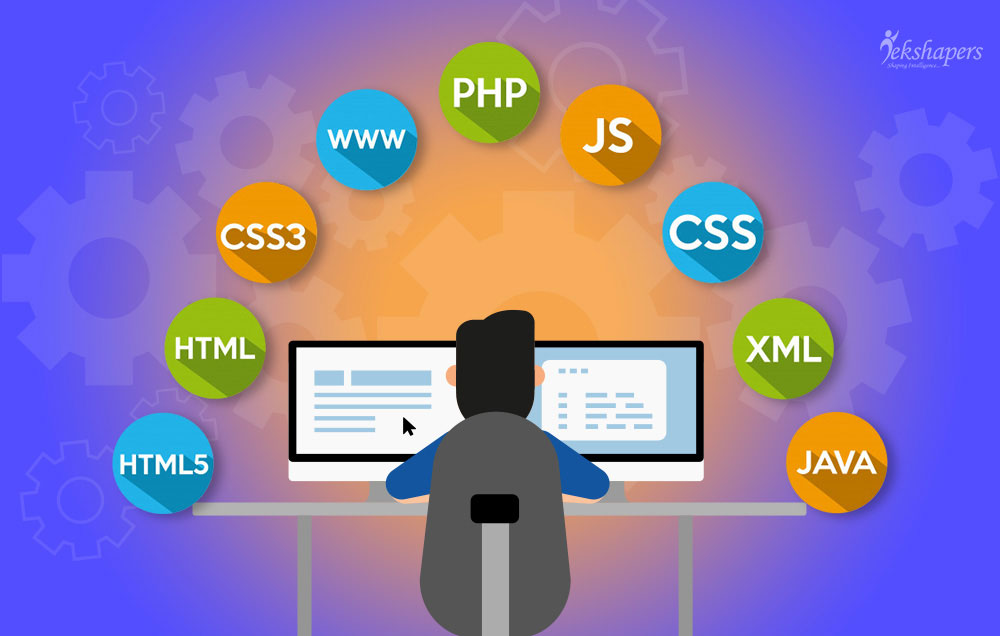
Learning a programming language is the first and most crucial step in your app development roadmap. The choice of language depends on the platform you’re targeting. If you’re aiming for iOS development, Swift or Objective-C are the go-to languages. Swift, being the newer language, is more popular due to its simplicity and performance advantages.
For Android development, Java and Kotlin are the primary languages. While Java has been a staple for a long time, Kotlin is now the preferred language for Android development due to its modern design and ease of use.
Learning a programming language involves understanding its syntax, data structures, control structures, and idioms. It’s not just about writing code, but also about problem-solving and logical thinking. You should practice by building simple programs and gradually take on more complex projects.
There are numerous resources available online for learning these languages, including official documentation, online courses, and tutorials. It’s important to choose a resource that offers practical exercises and projects, as hands-on experience is key in programming.
Remember, the goal is not to rush but to understand the concepts and build a strong foundation. It’s okay to find it challenging at first; every programmer was once a beginner. Keep practicing, stay curious, and don’t hesitate to seek help from the programming community. Happy coding!
Understanding the platform is a critical step in your app development roadmap. Each platform, whether it’s iOS, Android, or Windows, has its own set of guidelines, design principles, user interface, and user experience.
For iOS, you should familiarize yourself with the Human Interface Guidelines provided by Apple. These guidelines help you design an engaging user interface and a great user experience. They cover a wide range of topics, including app architecture, user interaction, visual design, user interface controls, and much more.
For Android, you should refer to the Material Design guidelines provided by Google. Material Design is a design language that combines the classic principles of successful design along with innovation and technology. It’s about creating a visual language that synthesizes classic principles of good design with the innovation and possibility of technology and science.
In addition to design, understanding the platform also involves learning about the platform-specific APIs and services. For example, each platform has its own way of handling notifications, location services, and other common features.
You should also learn about the app submission process for each platform. Each platform has its own set of rules and guidelines for app submission and review. Understanding these rules can save you a lot of time and effort when you’re ready to publish your app.
Lastly, you should understand the ecosystem of the platform. This includes the app store, the developer community, and the users. Understanding the ecosystem can help you make informed decisions about app pricing, marketing, and user support.
Remember, each platform is unique. What works on one platform may not work on another. Therefore, it’s important to understand the nuances of each platform to create an app that’s not only functional but also feels at home on the platform.
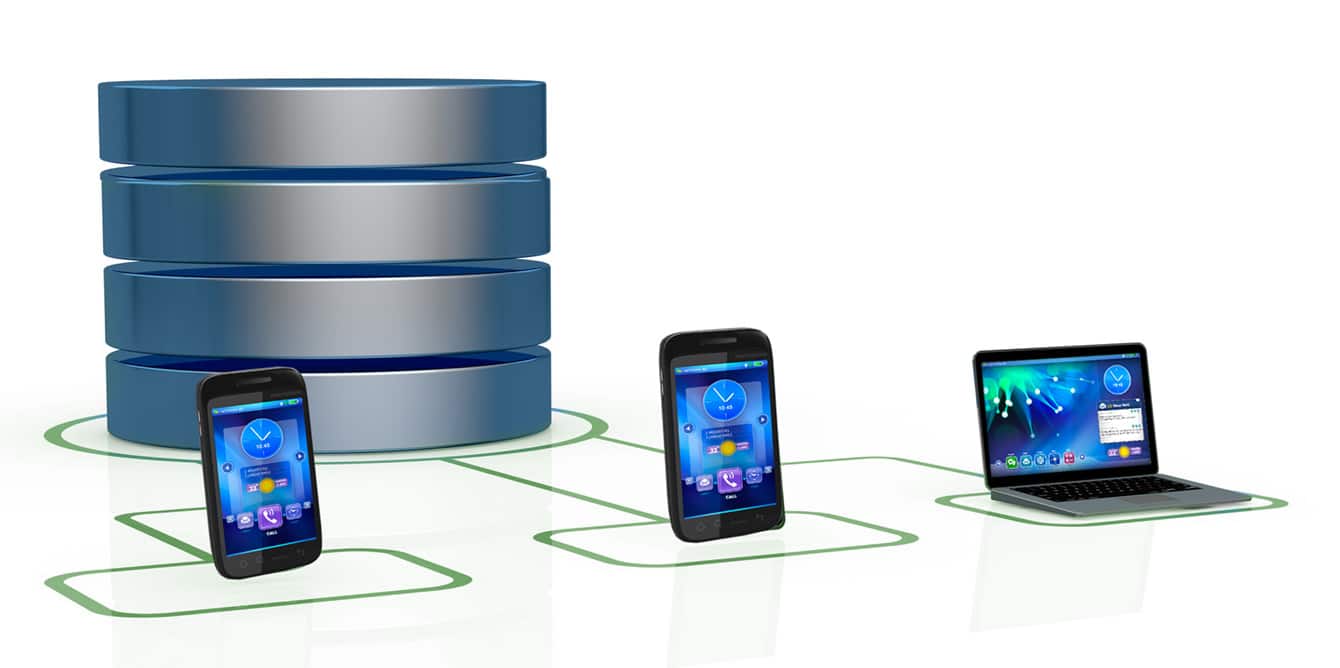
Learning about databases is a fundamental part of the app development process. Databases are used to store, retrieve, update, and delete data. They are crucial for maintaining the state of an application, tracking user data, and providing a seamless user experience.
There are two main types of databases you’ll encounter in app development: SQL and NoSQL.
SQL Databases: SQL (Structured Query Language) databases, such as MySQL, PostgreSQL, and SQLite, are relational databases. They store data in tables, and the relationships between these tables are defined by primary and foreign keys. SQL databases are excellent when you have structured data and need complex queries.
NoSQL Databases: NoSQL databases, such as MongoDB, Cassandra, and CouchDB, are non-relational databases. They can store unstructured data and are highly scalable. NoSQL databases are a good choice when you have a large amount of data and need high read/write speeds.
When developing mobile applications, you might also work with mobile databases like SQLite (Android) and Core Data (iOS). These databases are lightweight and designed to provide efficient data storage on mobile devices.
Understanding databases also involves learning about database operations such as Create, Read, Update, and Delete (CRUD), and concepts like indexing, normalization, transactions, and concurrency.
Moreover, you should be familiar with Object-Relational Mapping (ORM) frameworks, which simplify database operations by allowing you to interact with your database in a more intuitive way.
Finally, knowledge about cloud databases is also beneficial. Cloud databases like Firebase, AWS DynamoDB, and Azure Cosmos DB provide scalable database solutions and come with features like real-time updates, easy authentication, and offline support.
Remember, choosing the right database depends on your app’s requirements. Each database has its strengths and weaknesses, and understanding these can help you make an informed decision. Happy learning!
4. Learn about APIs:
Learning about APIs, or Application Programming Interfaces, is a crucial part of the app development roadmap. APIs act as a bridge between different software systems, allowing them to communicate and share data with each other.
APIs are used in app development to fetch data from a server, integrate third-party services, and interact with system components. For example, if you’re developing a weather app, you might use a weather API to fetch the current weather data.
There are several types of APIs you might encounter in app development:
Web APIs: Also known as HTTP APIs or REST APIs, these APIs allow your app to communicate with a server over the internet using the HTTP protocol. You’ll need to understand the basics of HTTP, including methods like GET, POST, PUT, DELETE, and status codes.
Library or Framework APIs: These APIs provide pre-defined classes, functions, and methods that you can use to perform common tasks. For example, the Android SDK provides APIs for tasks like displaying a user interface, handling user input, and managing app lifecycle.
Operating System APIs: These APIs allow your app to interact with the underlying operating system. For example, you might use OS APIs to access hardware features (like the camera or GPS), manage files, or create background services.
Database APIs: These APIs allow your app to interact with a database. You might use a database API to store user data, cache data, or sync data across multiple devices.
Third-Party APIs: These APIs are provided by third-party services. For example, you might use the Google Maps API to display a map in your app, or the Facebook API to allow users to log in with their Facebook account.
Understanding APIs involves learning how to read API documentation, how to use endpoints, parameters, headers, and how to handle API responses. It also involves understanding concepts like rate limiting, API keys, and OAuth.
Remember, APIs are a powerful tool in app development. They allow you to stand on the shoulders of giants, leveraging existing services and platforms to create more complex and feature-rich apps.
5. Start Building Simple apps:
Starting to build simple apps is a significant step in your app development journey. This stage allows you to apply the theoretical knowledge you’ve gained and see it in action. Here’s a detailed explanation:
Choosing the Right Project: Start with a simple project that aligns with your current skill level. It could be a basic calculator, a to-do list, or a weather app. The goal is not to build the next Facebook but to understand the process of app development.
Planning Your App: Before you start coding, plan your app. Define what your app will do, its main features, and how the user will navigate through the app. Sketching your app’s layout can be helpful.
Setting Up Your Development Environment: Depending on the platform and language you’ve chosen, set up your development environment. This could be Xcode for iOS apps, Android Studio for Android apps, or a text editor and terminal for web apps.
Building the User Interface: Start by building the user interface (UI) of your app. Use the design guidelines of the platform (Material Design for Android, Human Interface Guidelines for iOS) to ensure your app feels native.
Writing the Logic: Once the UI is ready, you can start writing the logic of your app. This involves writing functions, creating classes, and using APIs.
Testing Your App: As you build your app, test it regularly. This helps catch any bugs or issues early on. You can test your app on an emulator, simulator, or a real device.
Iterating on Your App: Based on the tests, you might need to go back, make changes, and test again. This iterative process is a normal part of app development.
Getting Feedback: Once your app is working as expected, get feedback. You can ask your friends, family, or the developer community. Use this feedback to improve your app.
Reflecting on Your Experience: After you’ve built your first app, reflect on the experience. What did you learn? What challenges did you face? How can you use this experience for your next project?
Remember, the goal of building simple apps is to learn and grow as a developer. Each app you build increases your confidence and gets you one step closer to becoming a proficient app developer. Happy coding!

Working on a capstone project is a significant milestone in your app development journey. A capstone project is a culmination of the skills you’ve learned, applied to a larger, more complex app. Here’s a detailed explanation:
Choosing the Right Project: Your capstone project should be something that challenges you, but is still achievable with your current skill set. It could be a social networking app, an e-commerce app, or a productivity app. The goal is to apply the concepts you’ve learned in a real-world context.
Planning Your App: Just like with simpler apps, you need to plan your capstone project carefully. This includes defining the features, designing the user interface, and planning the user experience. You might also need to plan for things like data storage, server communication, and third-party integrations.
Setting Up Your Development Environment: Depending on the complexity of your app, you might need to set up a more advanced development environment. This could include setting up a version control system, a testing framework, and continuous integration/continuous deployment (CI/CD) tools.
Building Your App: With everything in place, you can start building your app. This involves building the user interface, writing the logic, integrating APIs, and setting up the database. Remember to follow best practices and write clean, maintainable code.
Testing Your App: Testing is even more important for a capstone project. You should write unit tests for your code, perform integration tests, and conduct user testing to ensure your app works as expected.
Deploying Your App: Once your app is ready and tested, you can deploy it. This could involve submitting it to the app store, deploying the backend to a server, and setting up a website for your app.
Getting Feedback and Iterating: After deployment, get feedback from users and iterate on your app. This could involve fixing bugs, adding new features, and improving the user experience.
Documenting Your Project: Finally, document your project. This could involve writing a report, creating a video demo, or presenting your project to a group. This not only helps you reflect on what you’ve learned but also showcases your work to potential employers or clients.
Remember, a capstone project is a learning experience. It’s okay to make mistakes and face challenges. The important thing is to keep learning, keep improving, and never give up. Happy coding!
7. Publish your App:

Publishing your app is the final step in the app development roadmap. It involves making your app available to users through app stores. Here’s a detailed explanation:
Prepare for Release: Before you publish your app, you need to prepare it for release. This involves building a release version of your app, minifying and obfuscating your code to protect it from reverse engineering, and testing your app thoroughly to ensure there are no bugs or issues.
Set Up Store Listing: Each app store requires you to set up a store listing for your app. This includes writing a compelling app description, taking screenshots and videos of your app, choosing a category and tags for your app, and setting up pricing and availability.
Follow Store Guidelines: Each app store has its own set of guidelines that you must follow. This includes content guidelines, privacy policies, and design guidelines. Make sure to read and understand these guidelines to avoid your app being rejected during the review process.
Submit Your App for Review: Once everything is in place, you can submit your app for review. The review process varies between app stores. Some stores review each app manually, while others use automated systems. This process can take anywhere from a few hours to a few days.
Respond to Reviewer Feedback: If your app is rejected during the review process, don’t be disheartened. The reviewers will provide feedback on why your app was rejected. Use this feedback to improve your app and resubmit it.
Publish Your App: Once your app is approved, you can publish it. This makes your app available to users worldwide. Celebrate this achievement - publishing an app is a big milestone!
Monitor Performance and Gather Feedback: After your app is published, monitor its performance through analytics, respond to user reviews, and gather feedback. Use this information to update and improve your app.
Remember, publishing an app is not the end of the app development process. It’s important to keep updating your app based on user feedback and changing market trends. Happy publishing!
Keeping learning and improving is a continuous and vital part of the app development roadmap. The technology landscape, especially in app development, is dynamic and ever-evolving. New frameworks, tools, and best practices emerge regularly, and staying updated is crucial for a successful app development career.
Continuous Learning: Make learning a habit. This could involve reading documentation, taking online courses, attending webinars, or participating in coding bootcamps. There are numerous resources available online to learn new skills and improve existing ones.
Join Developer Communities: Developer communities like Stack Overflow, GitHub, and various online forums are a treasure trove of knowledge. They provide a platform to ask questions, share your work, learn from others’ experiences, and get feedback.
Follow Industry News: Stay updated with the latest trends and advancements in the app development industry. This could involve following tech blogs, subscribing to newsletters, or attending tech conferences.
Work on Personal Projects: Personal projects are a great way to apply what you’ve learned. They provide a platform to experiment, make mistakes, and learn in a low-pressure environment.
Contribute to Open Source: Contributing to open-source projects helps you improve your coding skills, work on real-world projects, and collaborate with other developers. It also enhances your portfolio.
Seek and Accept Feedback: Don’t hesitate to seek feedback on your work. Be open to constructive criticism and use it as a stepping stone to improve your skills.
Practice, Practice, Practice: There’s no substitute for practice when it comes to programming. The more you code, the better you get at it.
Remember, the goal is not to know everything but to be comfortable with the idea of learning new things. As the saying goes, “The more you learn, the more you realize how much you don’t know.” So, keep learning, keep improving, and most importantly, enjoy the journey!
Comments
Post a Comment